
Sunday, April 22, 2012
March Workshop
Friday, March 23, 2012
A Couple of Cards
 Well, so I failed miserably with the goal to post more. I have no excuses, but also can't live with guilt, so I'm moving on. I thought I'd share a couple of cards that I made a while back, as well as an updated photo of our chickens. This first card is one I designed for my church's Kids Club program. I lead workshops for the girls in K-4th grade. The girls wrote notes to their moms/special person after they created them. It was a lot of fun.
 This next card is one I made for my niece's birthday whose favorite colors are gray and purple. Both cards have a fun texture embossed on the white cardstock, which adds so much to the overall look.
 Lastly, here is an updated photo of our chickens while they were out roaming the yard the other day. They're about 21 weeks old now, so we're anticipating eggs anytime! We've been having such fun with them!
Thanks so much for stopping by today!
Tuesday, January 10, 2012
A Birthday Ensemble
 I have been pretty bad at posting some of the things I've been creating, so I challenged myself to share more this year. Here is a little birthday ensemble I made for my niece's birthday last week. She just turned 13, so obviously $ is the most desirable gift, but I just can't put $ in a card and call it good, so I made her a hair clip so she'd have something to open.
 The card was created with CTMH's Gray Flannel and Petal. What a beautiful combo. I seldom use purples b/c they're just not my favorite, but it is my niece's. I stamped a piece of background using the medallion from the Wonderful You business builder set with grey flannel ink on grey flannel cs. I then stamped the label image from the December 25th stamp set and adhered a piece of petal to cover up the "Happy Holidays". Stamped "Happy Birthday" instead. I thought it turned out beautifully!
 This little box was cut from the Art Philosophy Cricut Cartridge. I love that thing! I used a PTI die and stamp to make the label and added the "celebrate with style" sentiment strip.
 Here's what the hair clip looks like in the box.
 The flower was made with some ivory wool felt. The shape of each layer is actually 3 hearts in a circular pattern in 2 different sizes. There are 4 layers all together - 2 of each size. I stitched each heart to give it some depth. I stitched and glued each layer together and added a jewel to the center. Then I glued a clip to the back. Clear as mud? Anyways, thanks so much for stopping by today!
Sunday, January 8, 2012
Happy 2012!
 Happy (belated) New Year! Just thought I'd stop in for a quick post of this year's family Christmas Card. I have been sending a handmade photo Christmas card now for 13 years. I make about 150 of them, so I have learned to keep it down to no more than 5 steps. This year I went with Close To My Heart's Juniper and PTI's Kraft and Rustic Cream. One way that made this cardmaking procedure easier was CTMH's new Art Philosophy Cricut Cartridge (with the addition of the Gypsy to expand my options). I created the photo band with the cartridge on the Gypsy & then just waited for them to cut (LOVE THAT!) I stamped them up and assembled. I know I make it sound so easy, but the truth is, it is a bit time consuming. Good thing I enjoy doing it.
  Next up is a card I made for my sister's birthday. Today she is celebrating her 45th birthday - did I mention she was my older sister? Heehee! I used CTMH's Typeset papers and the Blue Ribbon Stamp Set. I love how easy it is to coordinate everything with Close To My Heart products!
Thanks so much for stopping by today!
Saturday, November 19, 2011
My Crazy Project
 Yep, that's a chicken coop. I began this crazy idea of having backyard chickens after our summer car trip to Iowa. I was impressed with the work ethic of my nieces and nephews during our visit, and I attributed a lot of that to the animals they were responsible for. This sparked the idea of having chickens. My husband was game since he loved his growing up years on the farm. I searched the internet for plans of chicken coops, but couldn't find any free plans I liked, so I sketched out a design and went from there. I didn't have any measurements, so I bought 3 2x4's in 8' lengths. I cut one in half, so my coop became 8'x4'. Since the coop has an attached run, I wanted it to be tall enough to stand up in, so the height of the coop at the peak is about 7 1/2 feet.
 After I cut the frame, I had the kids help me primer.
Then it was time to put the frame together. My husband made it clear that this was my project, but he couldn't help but monitor my work and progress.


Lots of painting! I wanted the coop to match the colors of our house, so I painted the frame a dark brown.
 Then we started with the roof. I had a tough time with the angles/pitch of the roof (did I mention I am not a skilled carpenter?), but I put my math skills to work and finally got it.
Then the brooding box was enclosed with some siding. This is a shot of what it looks like on the inside. There are 3 sections in the back for the nests with a hatch door so we can retrieve the eggs easily.
 This is a picture of the outside of the brooding box. There is also a side door to help with clean out.
 The roof and shingles went on after that. I shingled most of it in the dark one night to beat the rain, but I am a bit height challenged, so my husband had to help with the top pieces. The chicken wire was attached, as well. That was tough work and I needed a lot of help with that, but the husband is now getting excited about it all, so was willing to pitch in.
 And here are 3 of our 4 peeps. The darker red in the front is a Rhode Island Red and her name is "Millie" (short for Amelia). The lighter red is a New Hampshire Red named Mrs. Beasley (we've nicknamed her "Bossy Bea" for now because she thinks she owns the place). The bigger one to the back is an Aracauna named Daisy. She has such big eyes with long lashes! We've nicknamed her "Daisy Duke" She is supposed to lay a blue/green egg, so that should be kind of fun. The other chicken not pictured is the youngest of the bunch, so she stayed under the heat lamps during the photo. She's a Barred Rock named Harriet, Sweet Harriet (that would be from the movie So I Married An Axe Murderer)
We are having such fun with our girls, and they seem to be very happy in their new home!
Thursday, October 20, 2011
October Workshop
 This Friday is my monthly Scrap Night and this is the layout we will be making using a kit/papers of their choice. I made these pages with Close To My Heart's Dreamin' kit. It has such beautiful fall colors, but because of the blue in the kit, it makes it that much more versatile. I titled this page "Counting Our Blessings" because of the photos of our 4 kids. Having 4 kids in 3 years has definately brought its challenges, but my husband and I wouldn't do anything different. Our kids bring us so much joy, contentment, completion, laughter, pride.... I could go on and on. God has truly given us an incredible gift!


Thanks so much for stopping by today!
Friday, September 23, 2011
September Layout
 It's that time again for my monthly scrapbook workshop. Here is the layout we will be putting together tonight. I used Close To My Heart's new paper pack called "Roxie". Don't you just love that zebra print?!? It can really go with just about any color. I've also paired it with teal and apple green - adorable!
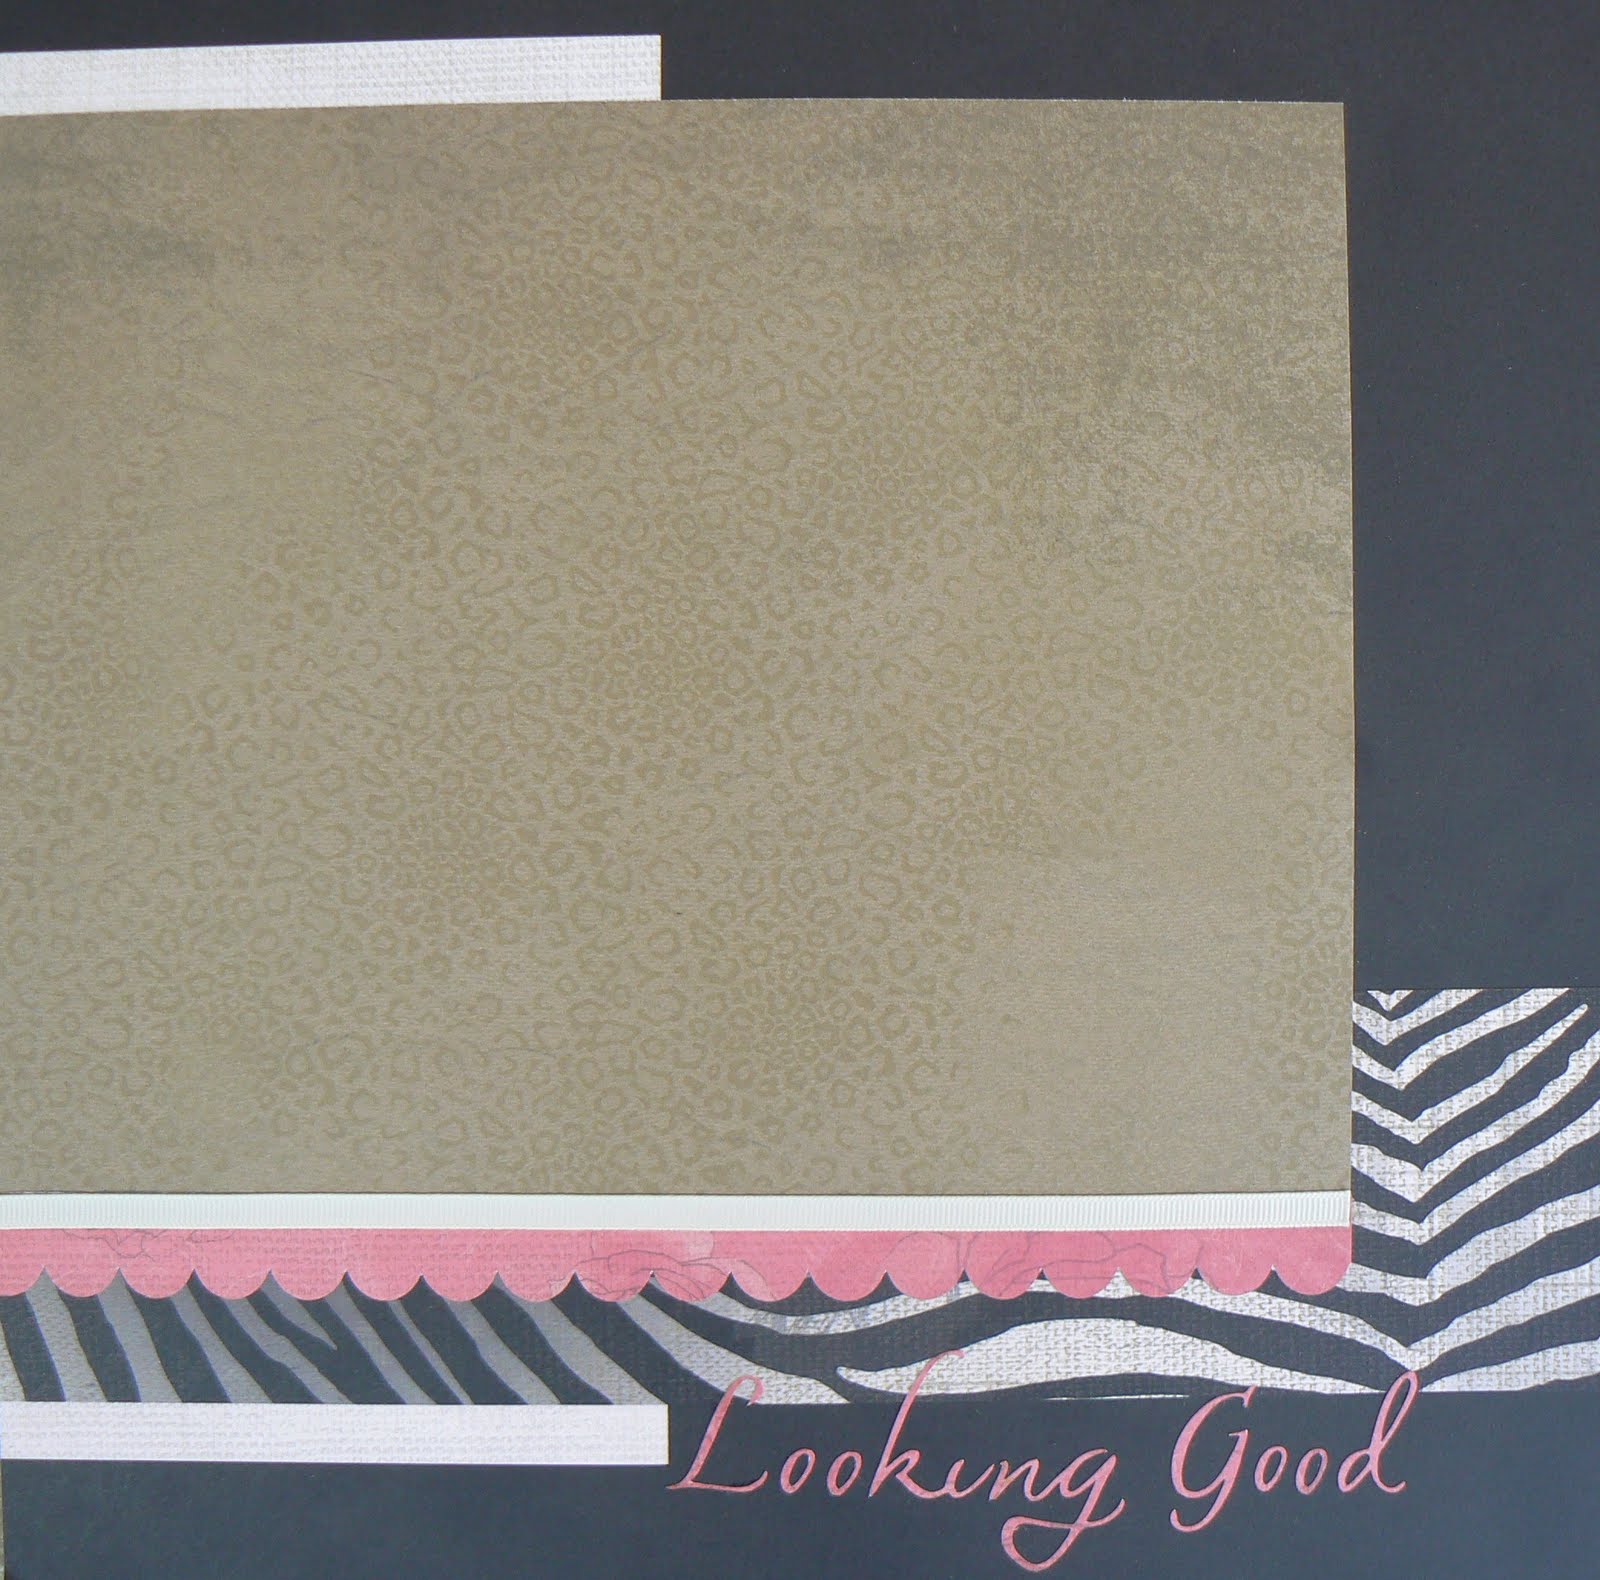 I used the cricut Calligraphy cartridge to cut out the title for this layout, as well as, CTMH"s Art Philosophy cartridge to make the scallop border. Thanks so much for stopping by today!
Subscribe to:
Posts (Atom)


